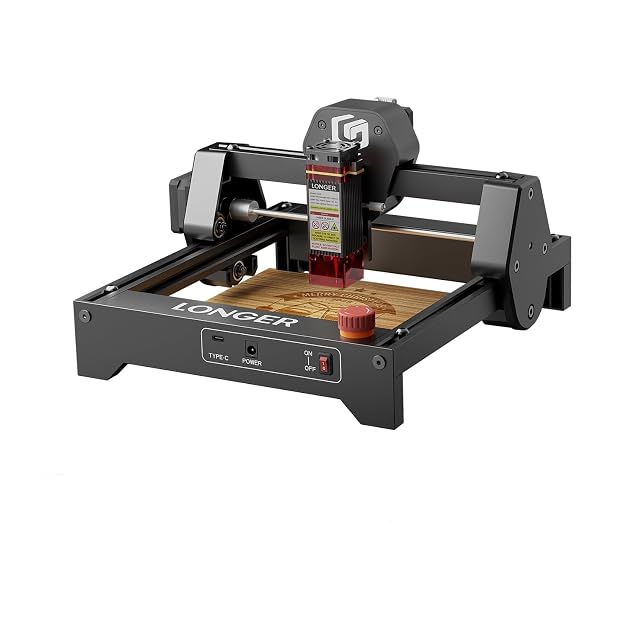
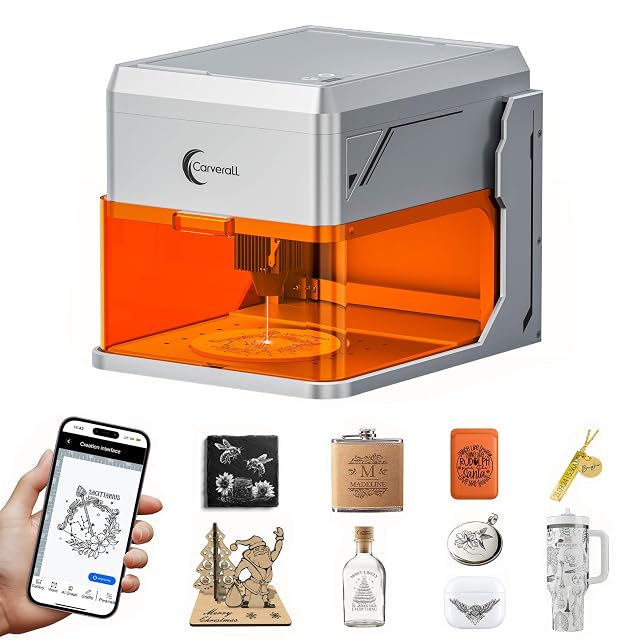
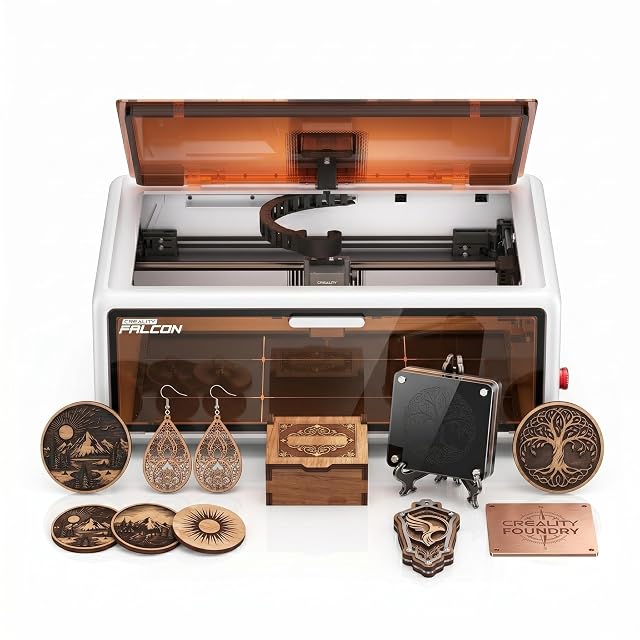
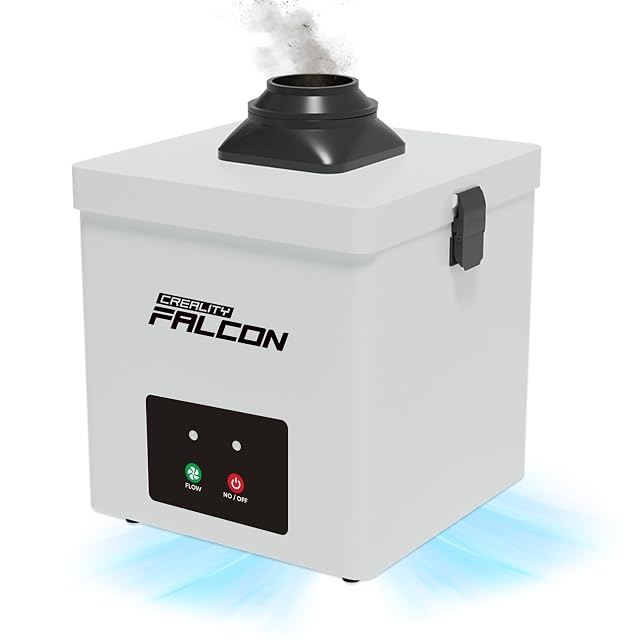
A laser that is set up in the right order gives clean results from the first evening.
Place the laser before switching it on
Put the machine on a flat, non-flammable surface with nothing combustible around it, where smoke can be extracted or vented as the maker describes. Check the frame is square and the belts are tight, as the assembly guide shows.
Air and eye protection for the laser
Connect extraction or filtration before the first job. Put on eye protection marked for the laser’s wavelength, and keep others in the room protected too. The maker’s manual and laser class marking describe what is required.
Focus the laser for the material
Use the maker’s focusing tool or procedure for the material in place. Many modules focus by a spacer or a fixed height; some focus automatically.
Run a laser test grid first
Engrave a speed and power test grid on an offcut of the material. Note which squares are clean, which are too faint and which burn. Those settings become the starting point for that material.
Then a simple first engraving
A line drawing or text engraves more predictably than a photograph. Stay with the laser while it runs, as makers instruct, and keep a fire extinguisher within reach.
Questions makers ask before buying
What is a material test grid?
A small file that engraves squares at different speed and power combinations. It shows which settings mark or cut a given material cleanly, and many laser programs generate one.
Why focus before every job?
Material thickness changes the distance to the lens. A laser focused for thin card is out of focus on thick plywood, and the result is faint, wide lines.
Last reviewed 15 September 2026