Skip to content

The first week with a 3D printer: what to do, in order

Most first-week problems with a filament printer come from doing things out of order: printing a large model before the first layer is right, or changing five settings at once. A short sequence avoids nearly all of them.

A new printer rewards patience in the first days more than any upgrade bought later.

Unpack and inspect before switching on

Check that the frame is square and nothing moved in transit: belts tight, screws present, cables clear of moving parts. The maker’s quick-start guide lists the transport locks and screws to remove, and it is worth following line by line.

Get the first layer right before anything else

Run the printer’s own levelling routine, or level by hand as the manual describes. Print a single-layer test or the maker’s calibration file and look at it closely: lines should be flattened slightly and touching, not round and separate, not scraped thin. Almost every later problem is easier once the first layer is right.

The maker’s sample file shows what the machine does with its own settings. After it, print small, useful objects rather than large models: a cable clip, a calibration cube, a spool holder. Short prints fail cheaply and teach quickly.

Leave these settings alone at first

Temperature, speed, retraction and flow have profile values chosen by the printer maker for the bundled filament. Change them only once a specific problem appears, and change one at a time.

Keep a short notebook

Filament brand, temperatures, what worked and what failed. After a week it becomes the most useful reference for that particular printer, because every printer and every spool behaves a little differently.

Questions makers ask before buying

Should I print my own model first or the sample file?

The sample file the maker supplies. It was sliced for that printer and its bundled filament, so if it fails, the cause is the machine or its set-up rather than a setting you chose.

When should I start changing slicer settings?

After a few successful prints with the maker’s profile, and one setting at a time. Changing several at once makes it impossible to tell which change helped.

Last reviewed 15 September 2026
Machines this advice refers to

Nothing above asks for a new purchase. Where a machine comes up, its MakerVerdict review is linked here — each card opens the write-up, not a shop.

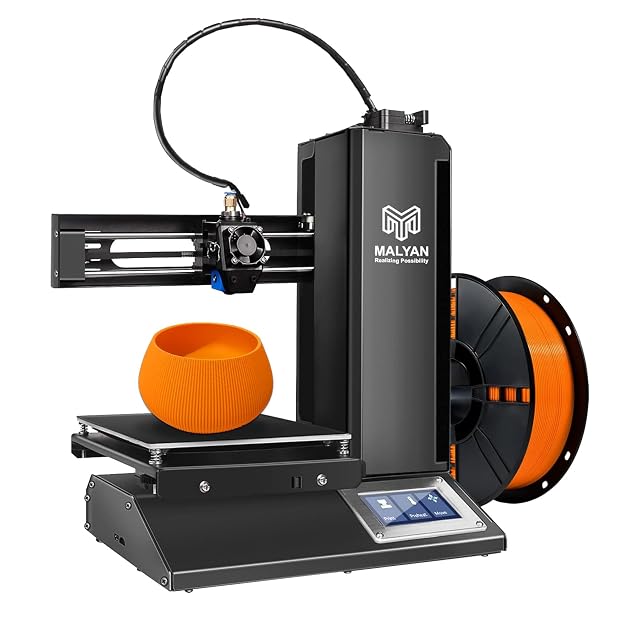
  • Malyan M320 Mini, 150 mm cube build volume

    150 × 150 × 150 mm build volume · heated magnetic plate · all-metal hotend · touchscreen · microSD and USB printing · no speed published

    The cheapest printer in this family, sold for children and beginners, whose listing publishes a 150 mm cube build volume, an all-metal hotend and a removable magnetic plate, and no print speed at all.

    Best for: A first printer for a child or a classroom corner, printing small models from a card without a computer nearby.

    ≈ £140 / 150 €

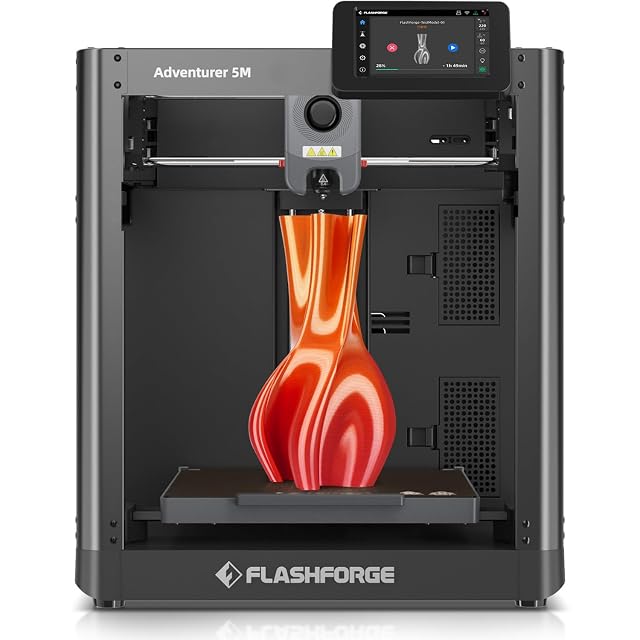
  • Flashforge Adventurer 5M, 220 mm CoreXY

    220 × 220 × 220 mm build volume · all-metal CoreXY · one-click automatic levelling · 3-second quick-change nozzles 0.25 to 0.8 mm · double-sided PEI plate · 600 mm/s maximum

    A CoreXY printer with a 220 mm cube build volume, tool-free nozzles in four diameters that change in three seconds, and a double-sided PEI plate whose back is meant for PETG.

    Best for: Someone printing everyday PLA and PETG parts who wants a published 220 mm volume and the option of a fine or a fast nozzle.

    ≈ 249 €

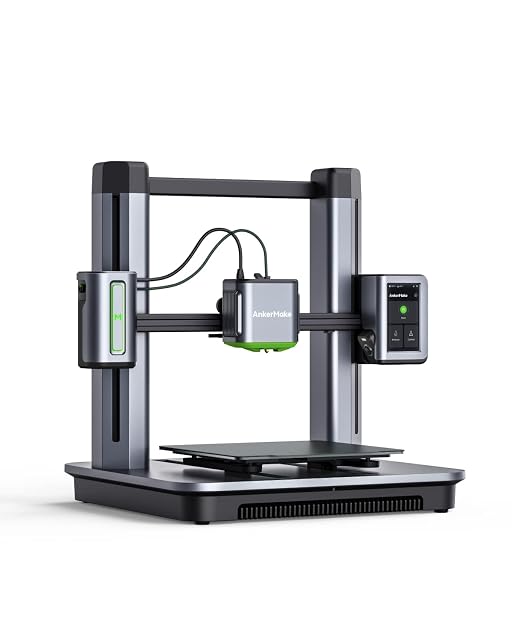
  • AnkerMake M5 with AI failure detection

    No build volume published · 500 mm/s after PowerBoost 2.0 update · 7 × 7 auto-levelling · direct extruder · camera with failure detection · die-cast aluminium frame

    A printer whose 500 mm/s maximum depends on a firmware, slicer and app update, with 7 × 7 auto-levelling and a camera that pauses a failed print, and a listing that gives no build volume.

    Best for: A buyer who prints long jobs unattended and values a camera that stops a failed print more than a published build volume.

    ≈ 236 €

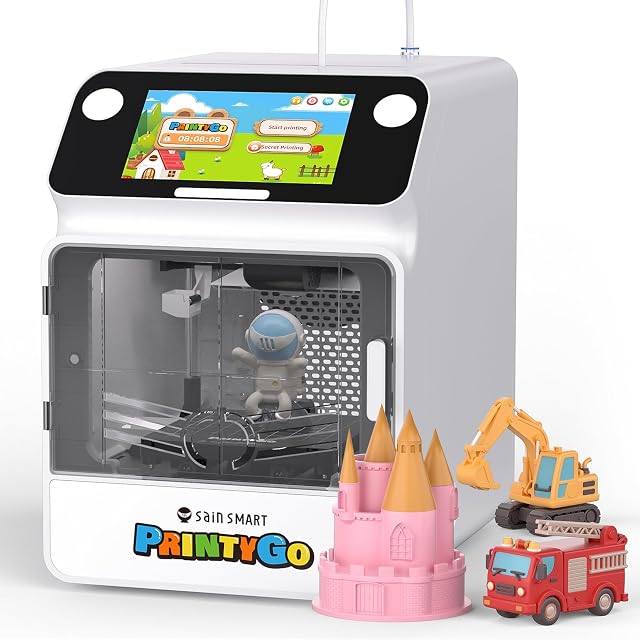
  • SainSmart PrintyGo Mini, enclosed printer for children

    No build volume published · fully enclosed with a door that stops the print · auto-levelling · 5 inch touchscreen · Wi-Fi and app · 600 mm/s maximum stated

    A pre-assembled, fully enclosed printer sold as a STEM toy for children aged 8 and up, whose door stops the print when opened, and whose listing never states how large a part it can make.

    Best for: A supervised first printer for a child from eight, where an enclosed frame and a door that stops the print matter more than size.

    ≈ $175 / £199 / 180 €

A price quoted in the text of a MakerVerdict page dates from the day that page was written; the live figure beside each product is fetched while you read and replaces it.