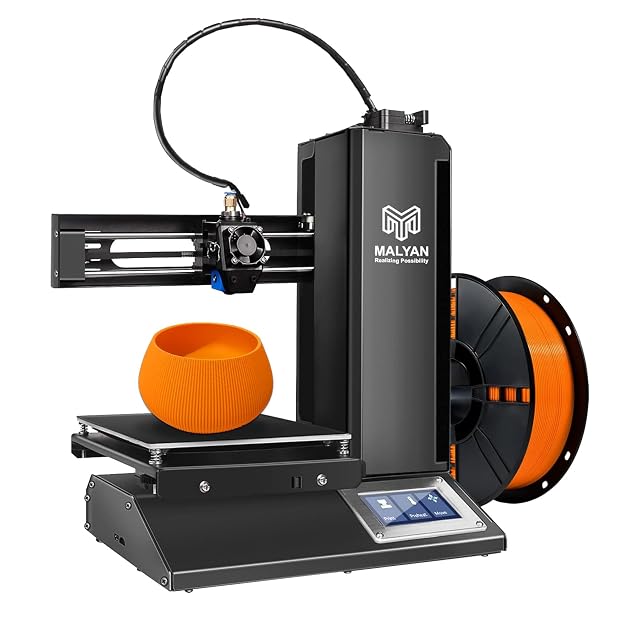
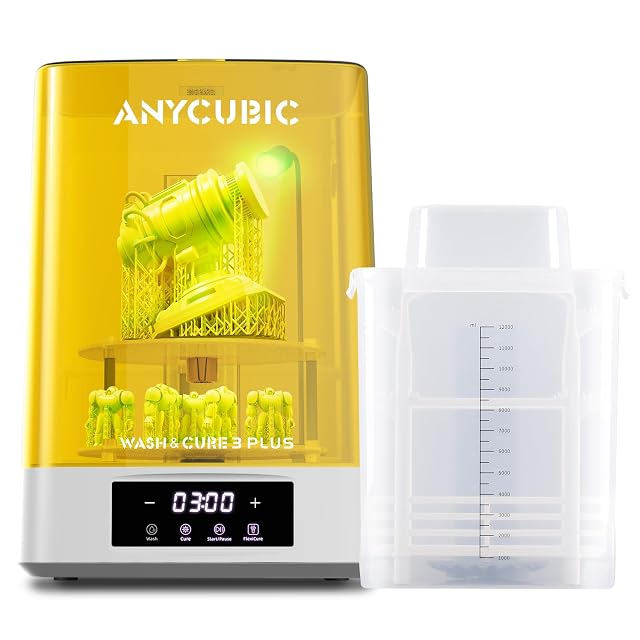
Finishing is where a print starts to look like a product, and it rewards a gentle sequence.
Removing supports from filament prints
Flush cutters snip supports close to the part without tearing it. A deburring tool cleans holes and edges. For stubborn contact points, remove the bulk first and trim the marks afterwards rather than twisting the whole support off at once.
Removing supports from resin prints
Wear gloves while the part is uncured. Cut supports close to the surface with cutters rather than pulling them, which can lift a chunk of the part. The resin maker’s advice decides whether this happens before or after curing.
Sanding in stages
Start with a coarse grit to remove support marks and visible layer lines, then move through finer grits, removing the scratches of the previous grit each time. Wet sanding keeps dust down and paper clean. On resin prints, dust from cured resin still calls for a mask.
Filling and priming
A filler primer fills fine layer lines and shows the areas that still need sanding. Several light coats with sanding in between build a smooth surface. The primer and paint makers’ instructions give drying times and ventilation advice.
Finishing options for filament
Some filaments accept vapour smoothing or heat finishing, and each process has its own hazards and instructions. Mechanical sanding and priming work on almost every material and are the safer default.
Questions makers ask before buying
Are resin supports removed before or after curing?
Resin makers differ in their advice. Supports often snap off more cleanly while the part is still slightly soft after washing, but some resins are easier to clean up after curing.
Why sand wet?
Wet sanding keeps dust down, stops the paper clogging and gives a smoother surface. With resin prints it also keeps cured dust out of the air.
Last reviewed 15 September 2026